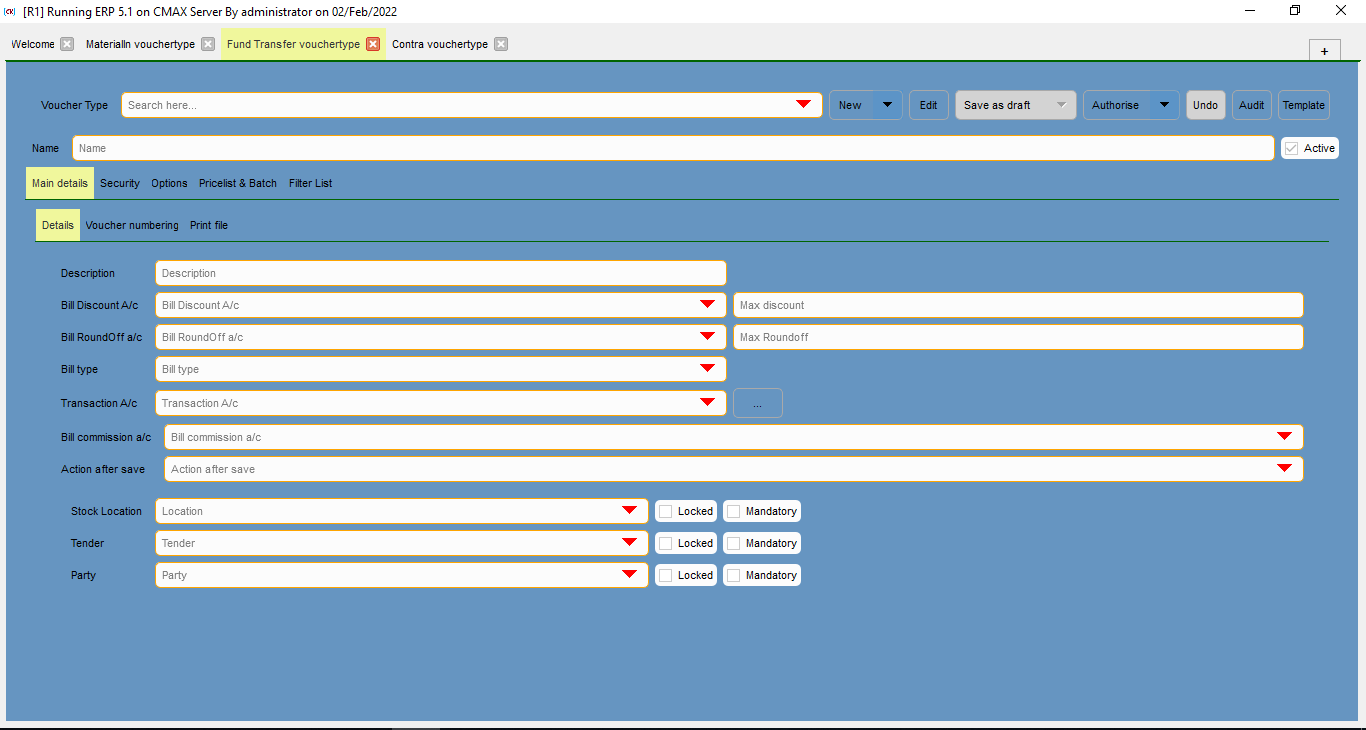
This voucher include all the details of the fund transfer voucher types. Fund transfer voucher types are used to create fund transfer vouchers.

This is any additional information or description about the fund transfer voucher.
This is account head assigned for bill discounts.
This is account head assigned for bill roundoffs.
This is to select the bill type of voucher, if applicable.
This is account head assigned for transactions.
This is account head assigned for bill commissions.
This is to select the action to perform after voucher save.
This is to select the assigned stock location.
This is to select the associated tender information.
This is to select the associated party.
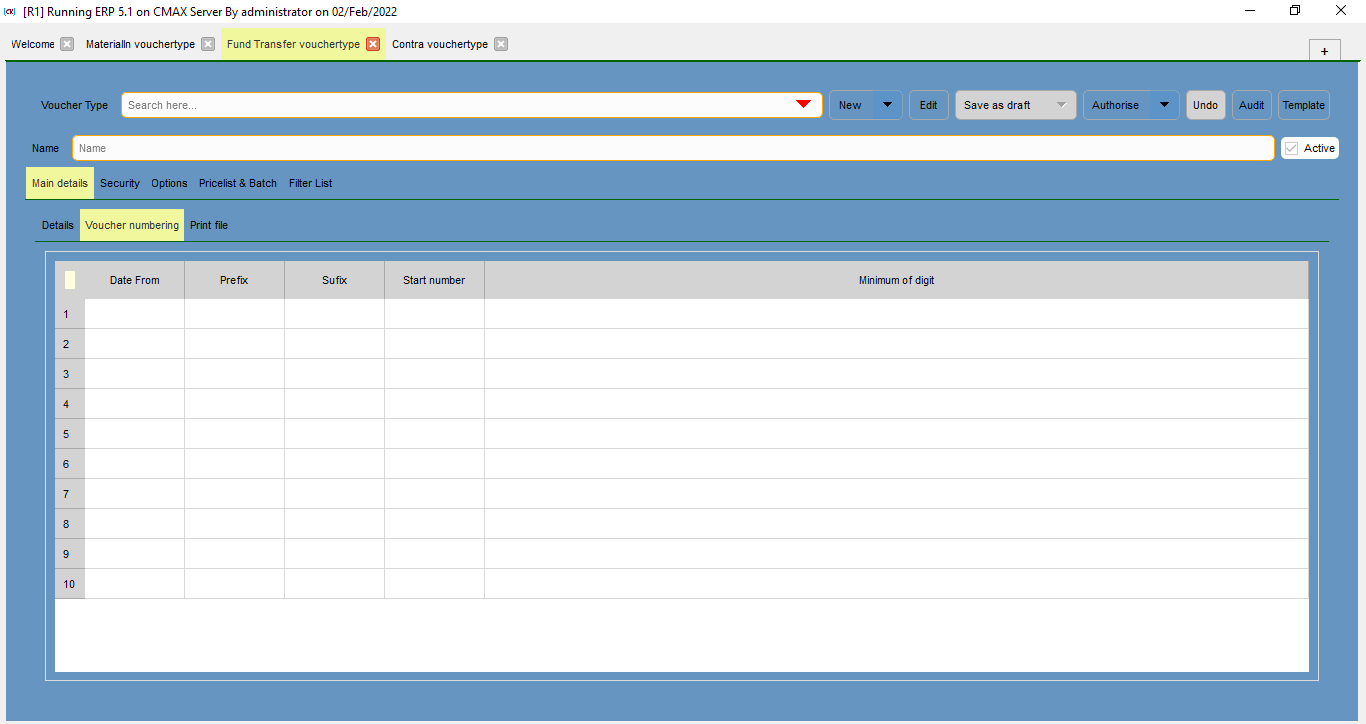
This is the starting date for the vocuher.
This is the prefx numbering for the voucher.
This is the suffix numbering for the voucher.
This is the starting number for the voucher.
This is the minimum digits for the numbering of voucher.
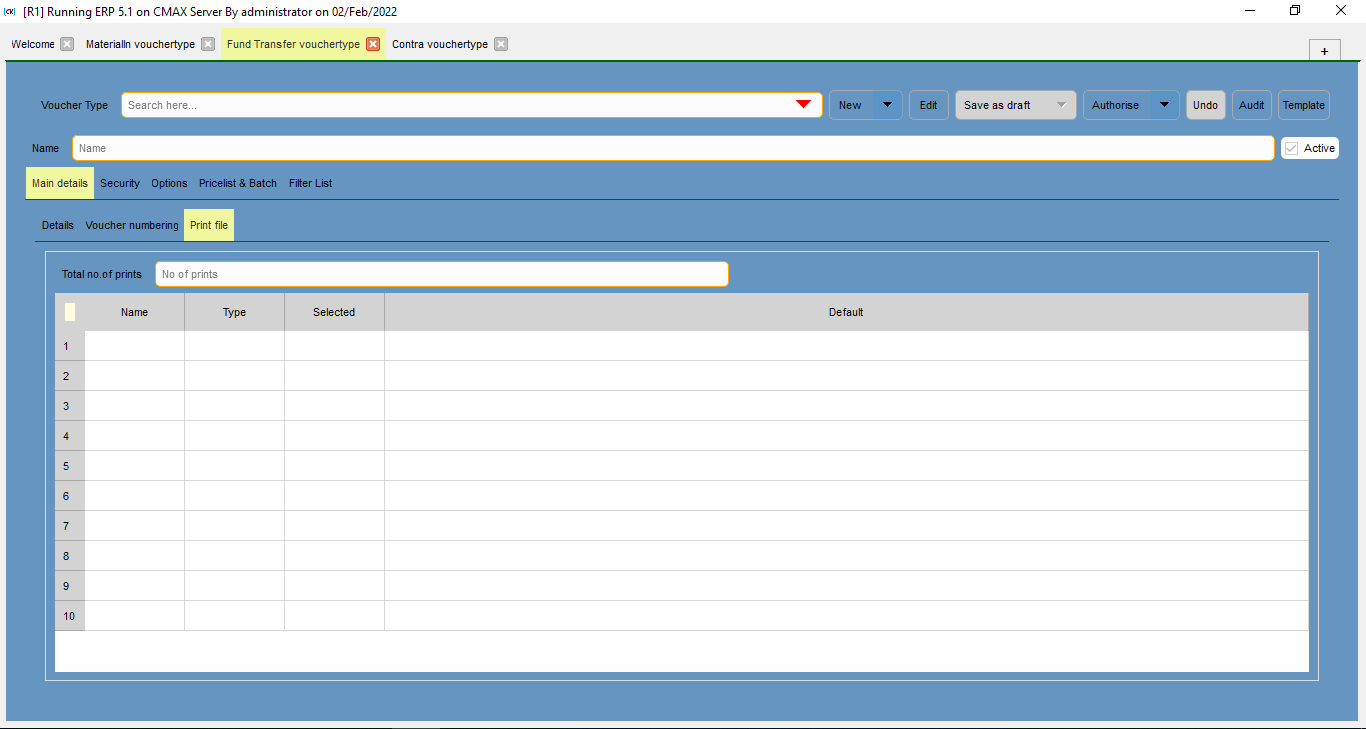
This is the number of copies for printing.
This is the name of the print file of the voucher.
This is the type of the print file.
This is the selected files for print.
This is the defaults for the print file of the voucher.
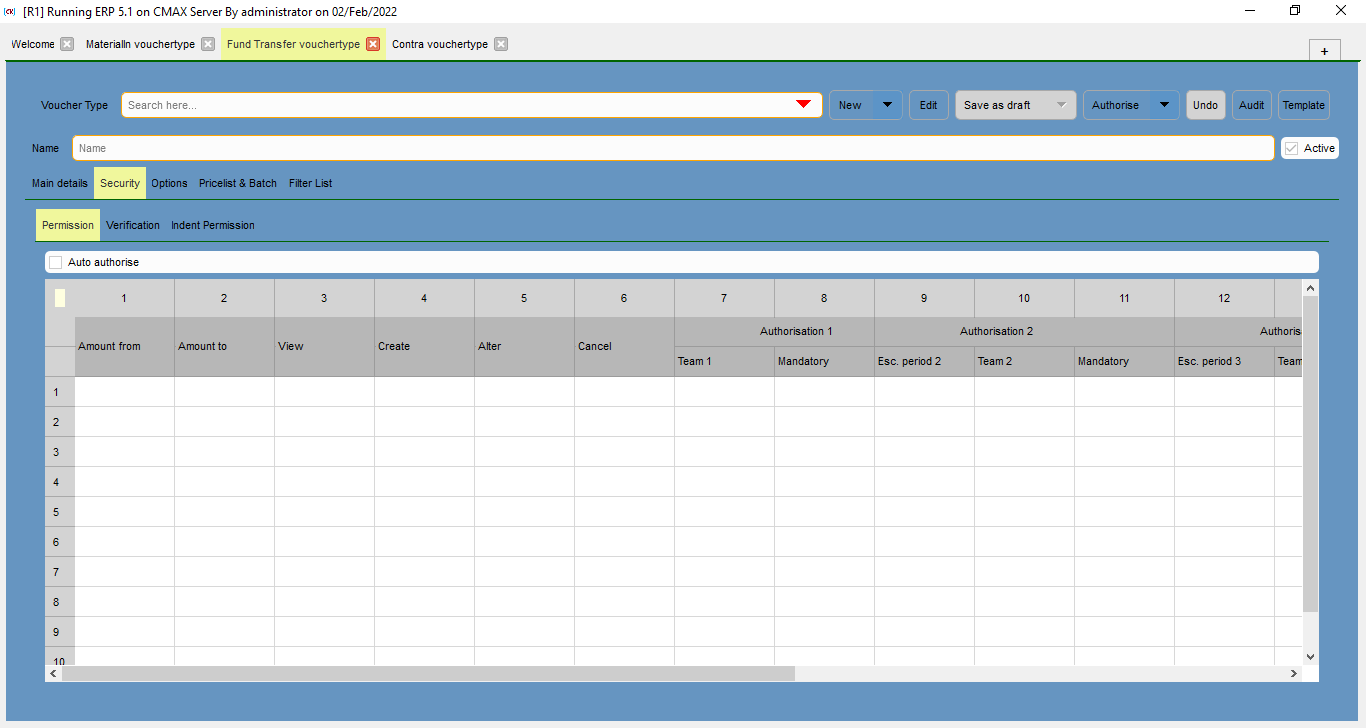
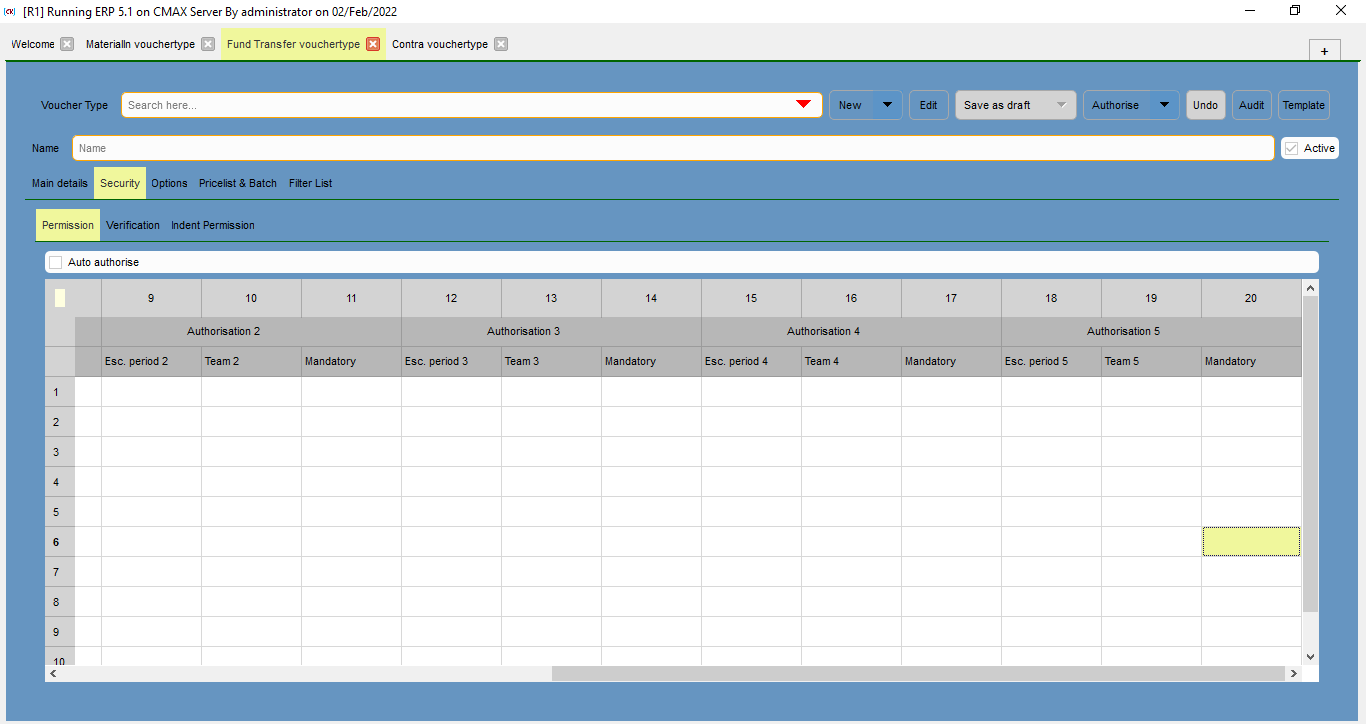
Select the check box to enable auto authorization for particular voucher.
This is the name of the account head from which the amount is used.
This is the name of the account head to which the amount is aissued.
This is to select who can view the voucher.
This is to select who can create the voucher.
This is to select who can alter the voucher.
This is to select who can cancel the voucher.
This is the name of the first authorization team.
This is to select whether permission from authorisation team 1 is madatory or not.
This is the time period within which authorization team 2 needs to perform the nessary action on the voucher, else it will be send to the next authorization time.
This is the name of the second authorization team.
This is to select whether permission from authorisation team 2 is madatory or not.
This is the time period within which authorization team 3 needs to perform the nessary action on the voucher, else it will be send to the next authorization time.
This is the name of the third authorization team.
This is to select whether permission from authorisation team 3 is madatory or not.
This is the time period within which authorization team 4 needs to perform the nessary action on the voucher, else it will be send to the next authorization time.
This is the name of the fourth authorization team.
This is to select whether permission from authorisation team 4 is madatory or not.
This is the time period within which authorization team 5 needs to perform the nessary action on the voucher, else it will be send to the next authorization time.
This is the name of the fifth authorization team.
This is to select whether permission from authorisation team 5 is madatory or not.
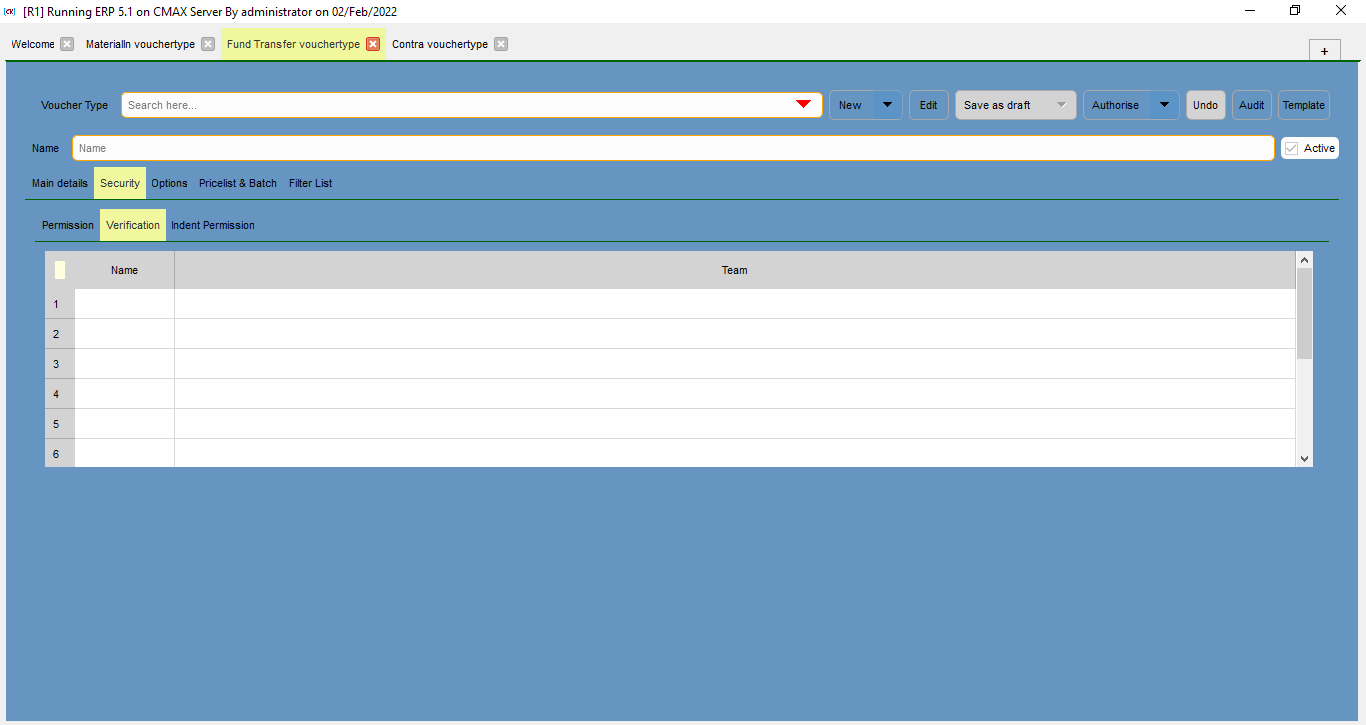
This is the name of the user.
This is the name of the verification team
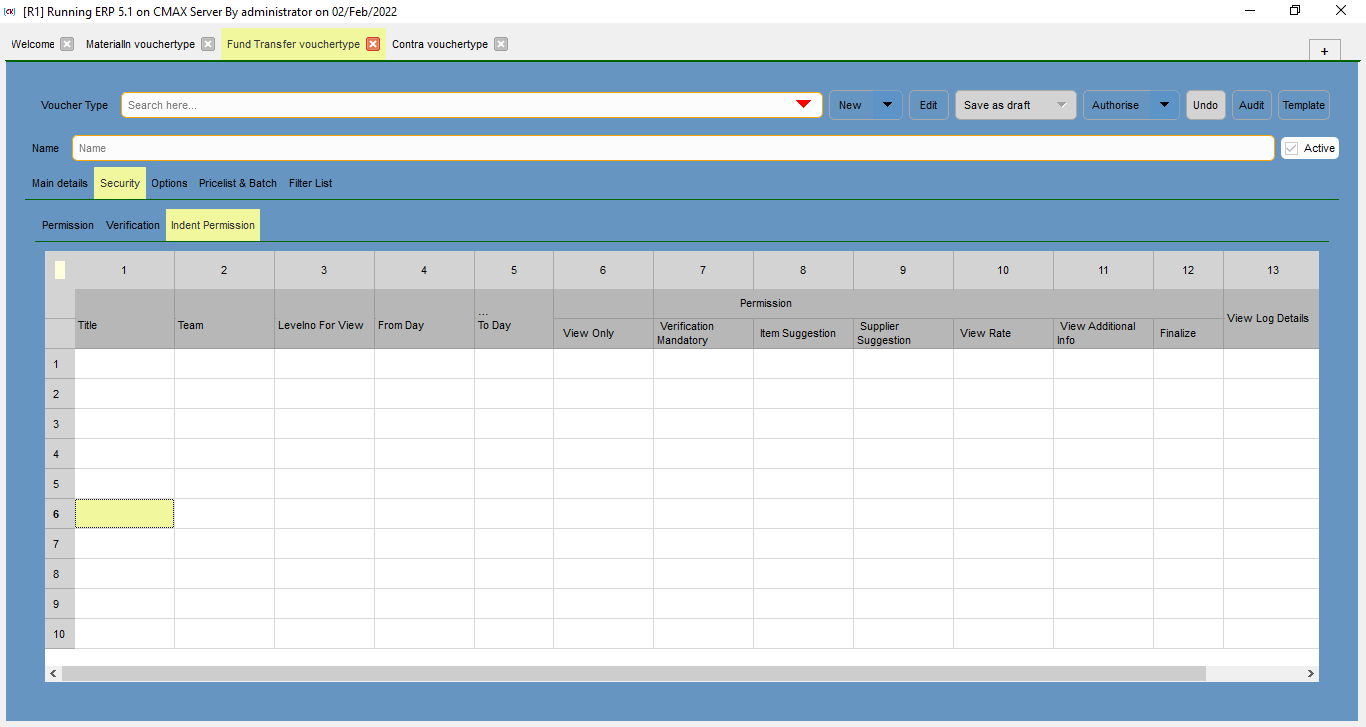
This is the title for the indent permission.
This is the team associated with the indent permission.
This is the level number for viewing the indent based on the the number of permissions.
This is the starting date from which particular permissio is active.
This is the end date to which particular permissio is active.
THis is to select the checkbox based on the permission required for a particular team. Ths can be View Only, Verification Mandatory, tem Suggestion, Supplier Suggestion, View Rate, View Additional Info, and Finalize.
This is to select who can view log details.
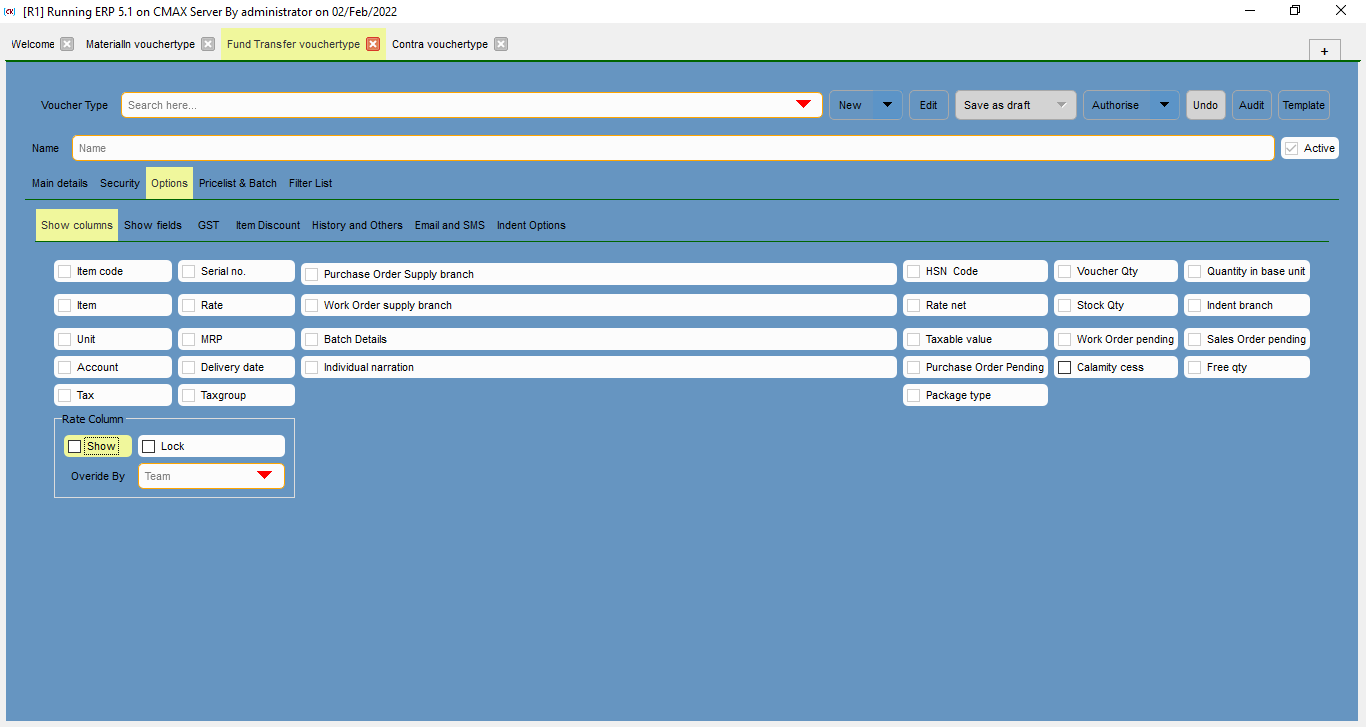
Select the check box to show item code coloumn in the voucher.
Select the check box to show serial number coloumn in the voucher.
Select the check box to show item coloumn in the voucher.
Select the check box to show unit coloumn in the voucher.
Select the check box to show rate coloumn in the voucher.
Select the check box to show MRP coloumn in the voucher.
Select the check box to show account coloumn in the voucher.
Select the check box to show delivery date coloumn in the voucher.
Select the check box to show tax coloumn in the voucher.
Select the check box to show tax group coloumn in the voucher.
Select the check box to show purchase order supply branch coloumn in the voucher.
Select the check box to show work order supply branch coloumn in the voucher.
Select the check box to show branch details coloumn in the voucher.
Select the check box to show individual narration coloumn in the voucher.
Select the check box to show HSN code coloumn in the voucher.
Select the check box to show voucher quantity coloumn in the voucher.
Select the check box to show rate net coloumn in the voucher.
Select the check box to show stock quantity coloumn in the voucher.
Select the check box to show taxable value coloumn in the voucher.
Select the check box to show purchase order pending coloumn in the voucher.
Select the check box to show free quantity coloumn in the voucher.
Select the check box to show package type coloumn in the voucher.
Select the check box to show work order pending coloumn in the voucher.
Select the check box to show sales order pending coloumn in the voucher.
Select the check box to show quantity in base unit coloumn in the voucher.
Select the check box to show indent branch coloumn in the voucher.
Select the check box to show calamity cess coloumn in the voucher.
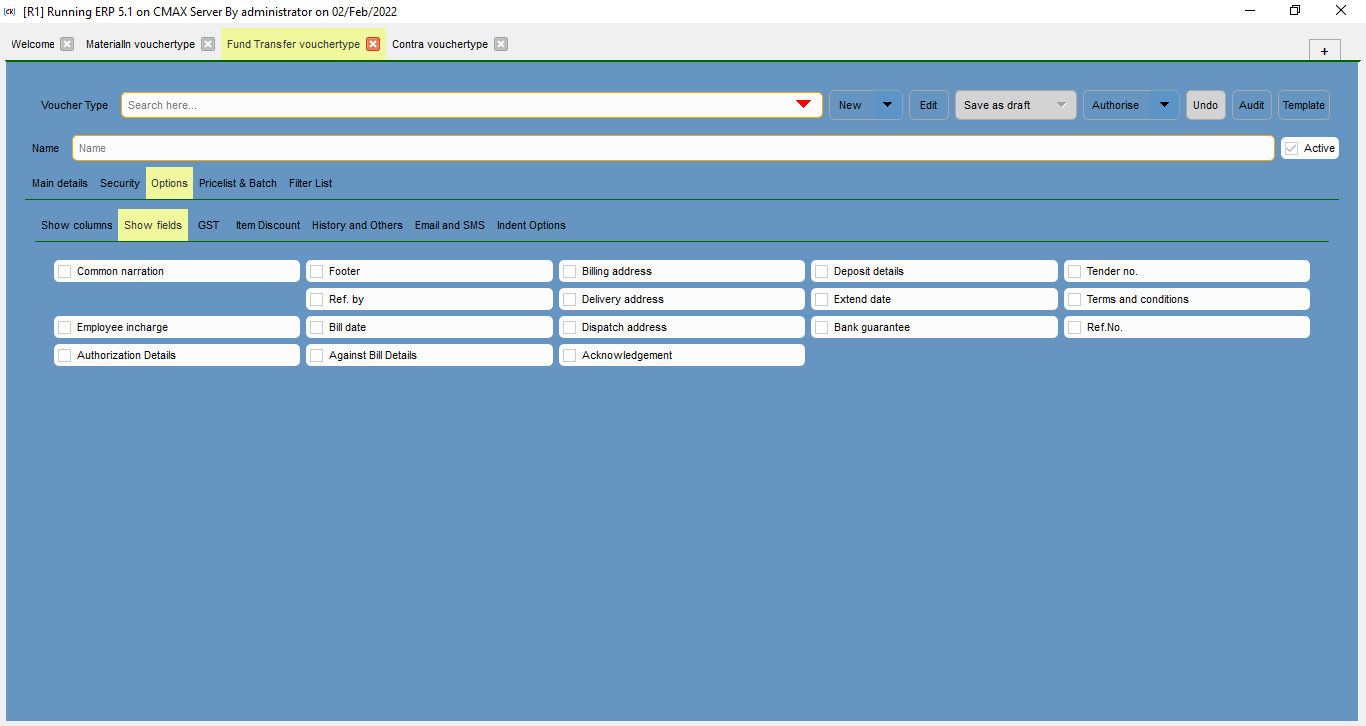
Select the check box to show common narration field in the voucher.
Select the check box to show employee incharge field in the voucher.
Select the check box to show authorization details field in the voucher.
Select the check box to show footer field in the voucher.
Select the check box to referred by field in the voucher.
Select the check box to show bill date field in the voucher.
Select the check box to show against bill details field in the voucher.
Select the check box to show billing address field in the voucher.
Select the check box to show delivery address field in the voucher.
Select the check box to show dispatch address field in the voucher.
Select the check box to show acknowledgement field in the voucher.
Select the check box to show deposit details field in the voucher.
Select the check box to show extend date field in the voucher.
Select the check box to show bak guarantee field in the voucher.
Select the check box to show tender number field in the voucher.
Select the check box to show terms and conditions field in the voucher.
Select the check box to show reference number field in the voucher.
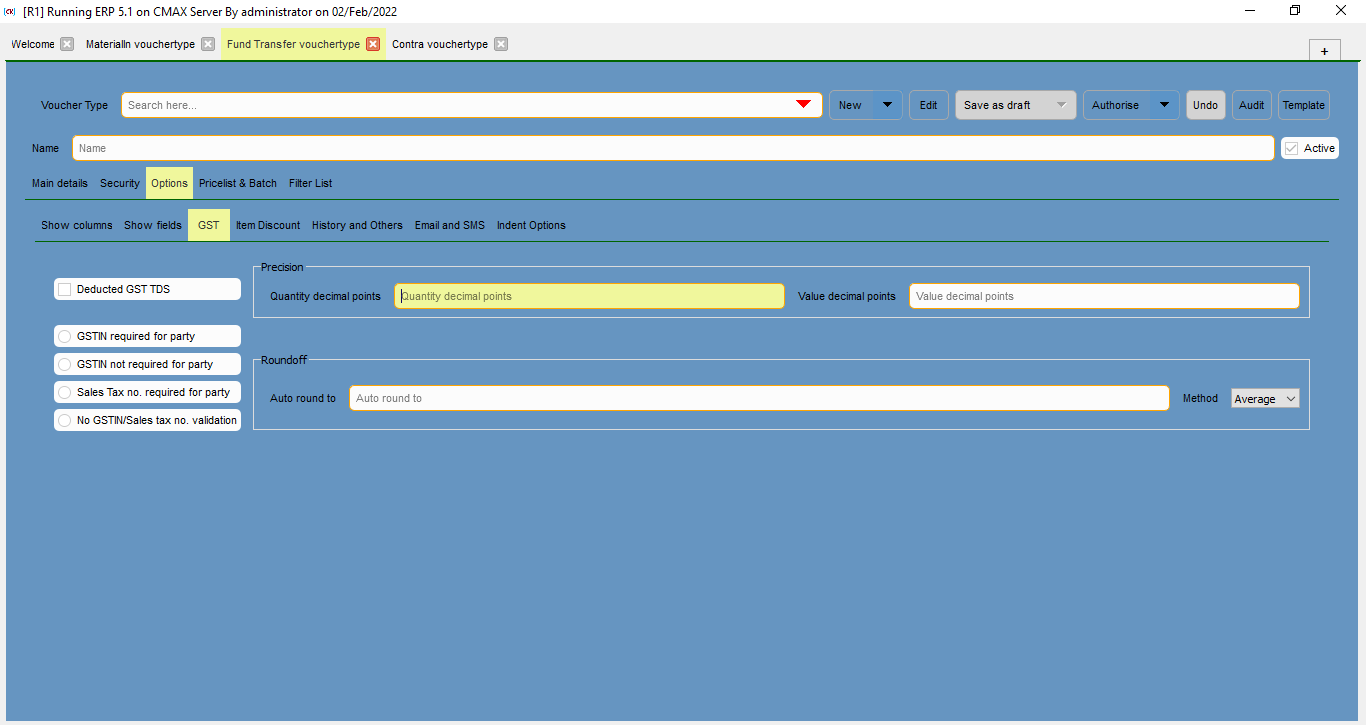
Select the check box if GST TDS is deducted.
Select the check box if GSTIN is required for a party.
Select the check box if GSTIN is not required for a party.
Select the check box if Sales Taxnumber is required for party.
Select the check box if GSTIN or sales tax number is not required for a party.
This is the details required for the precision of quanity and value.
This is the decimal points required for the precision of quantity.
This is the decimal points required for the precision of value.
This is the details required for the roundoff criteria and the method to be used.
This the auto round to value.
This is the method to be selected for roundoff, it can be average, ceil or floor value.
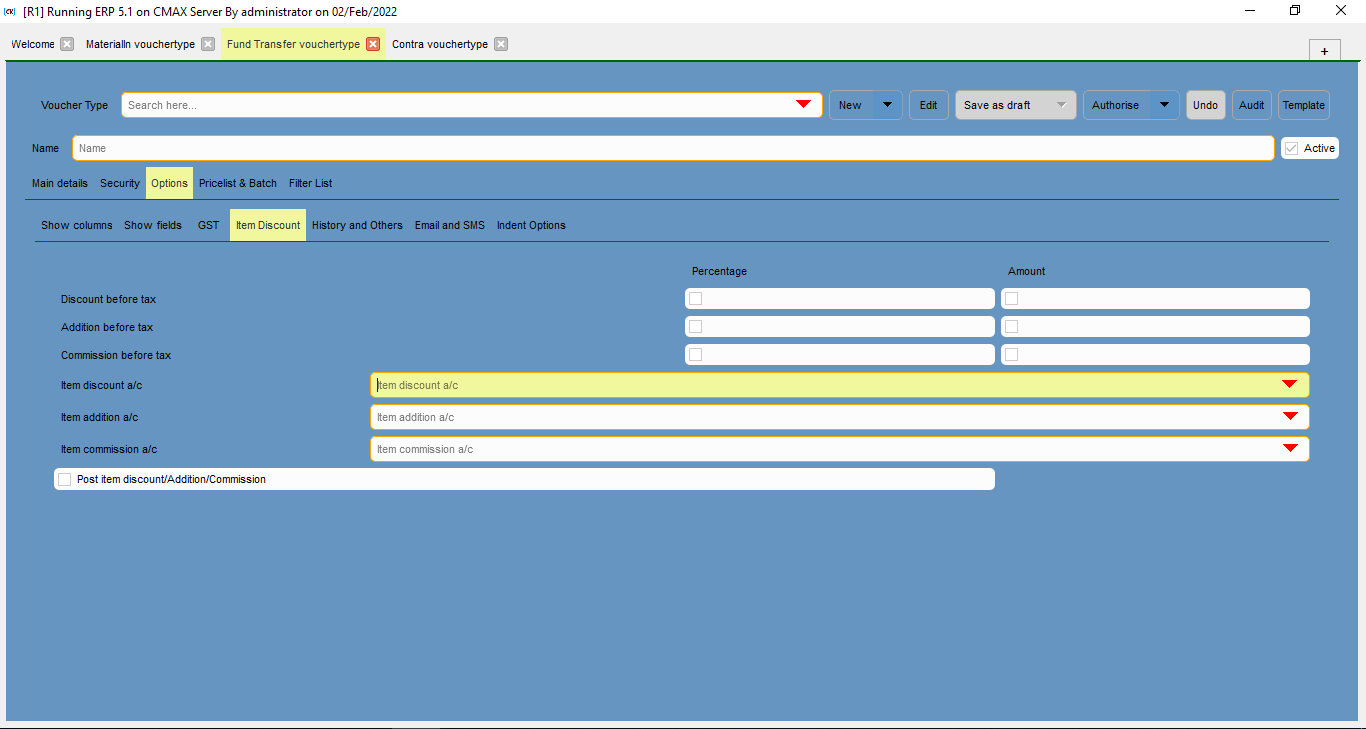
Select the check box for percentage/amount if discount is to be given before tax.
Select the check box for percentage/amount if additionis to be processed before tax.
Select the check box for percentage/amount if commission is to be given before tax.
Select the corresponding account head for item discounts.
Select the corresponding account head for item addition.
Select the corresponding account head for item commission.
Select the check box for post item, discount, or commission.
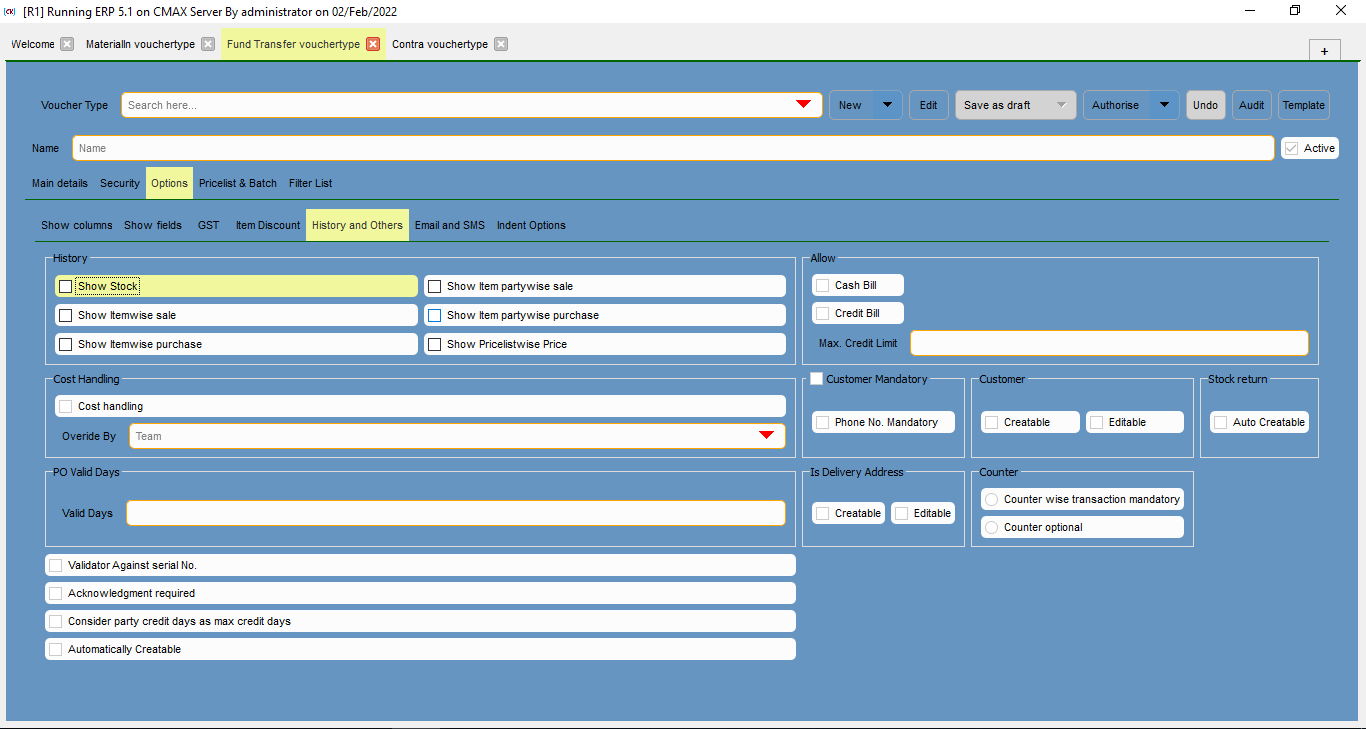
Select the check box to show the stock history.
Select the check box to show the item partywise sale history..
Select the check box to show the itemwise sale history.
Select the check box to show the item partywise purchase history.
Select the check box to show the itemwise purchase history.
Select the check box to show the pricelistwise price history.
Select the check box for cost handling.
Select the team assigned for the cost hanlding of the specific voucher.
This is the number of days for the validity of purchase order.
Select the check box if cash bill is to be allowed.
Select the check box if credit bill is to be allowed.
This is the maximum allowed credit limit.
Select the check box if customer is mandatory.
Select the check box if phone number is mandatory.
Select the check box if customer can be created.
Select the check box if customer can be edited.
Select the check box if stock return is auto creatable.
Select the check box if delivery address can be created.
Select the check box if delivery address can be edited.
Select the check box if the counter wise transaction is mandatory
Select the check box if the counter is optional.
Select the check box if the validation against serial number is required.
Select the check box if acknowledgement is required.
Select the check box to consider party credit days as max credit days .
Select the check box to automatically create.
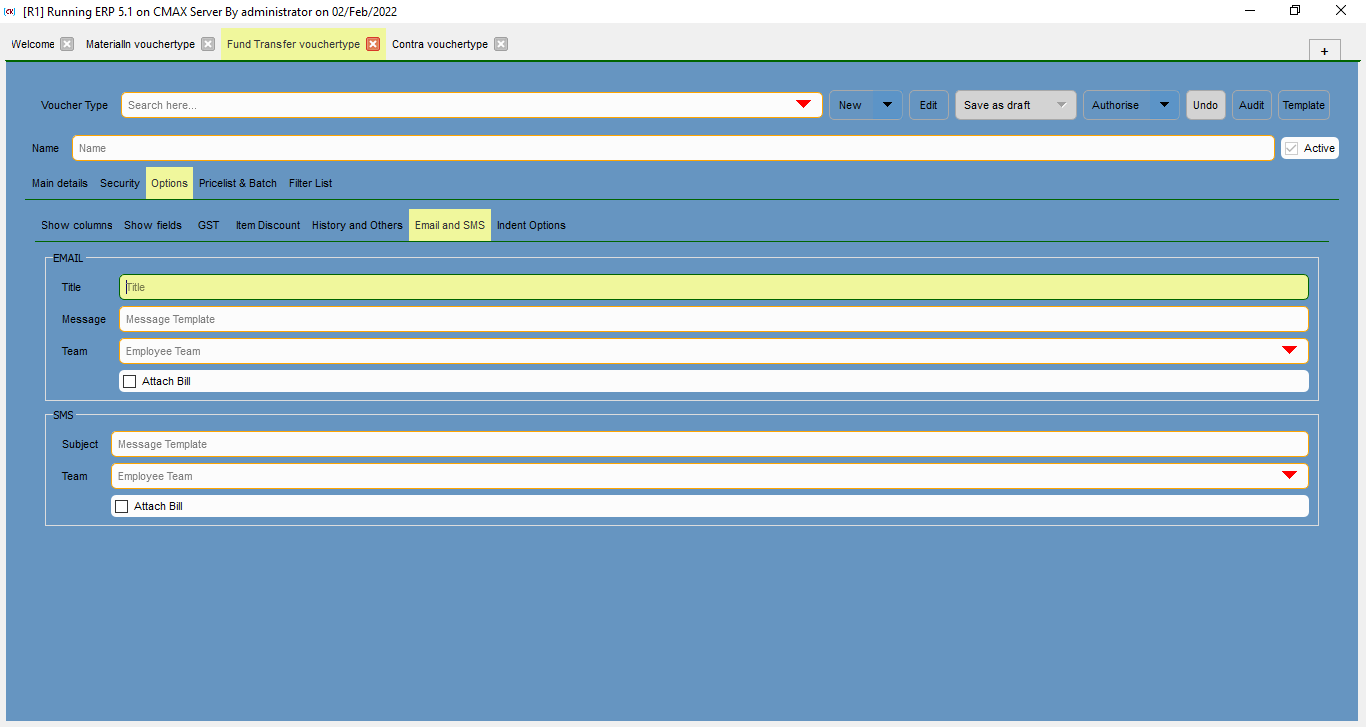
This is the title of the email.
Thsis the message template for the email.
This is to select the corresponding employee team.
Select the check box to attach bill with the email.
This is the subject for the SMS.
This is to select the corresponding employee team.
Select the check box to attach bill with the SMS.
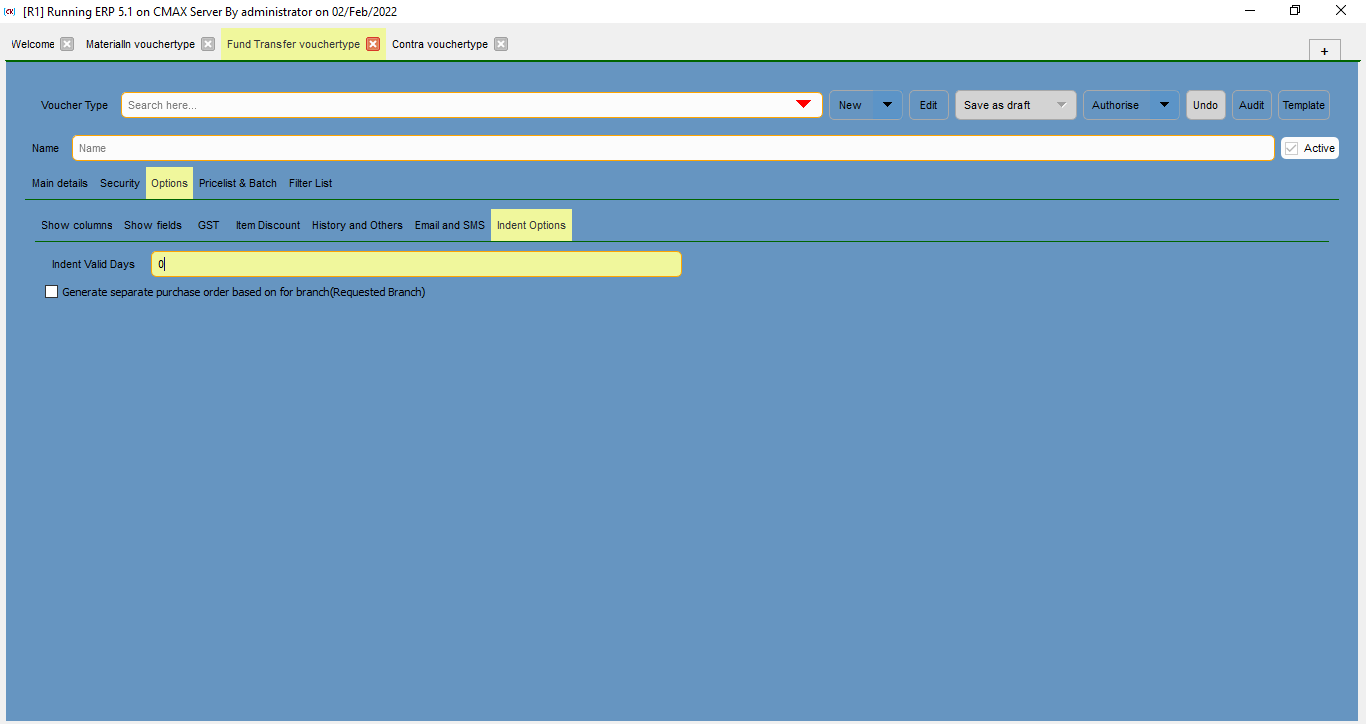
This is the number of days for which the indent voucher is to be valid.
Select the check box if separate PO is to be generatedfor the branch.
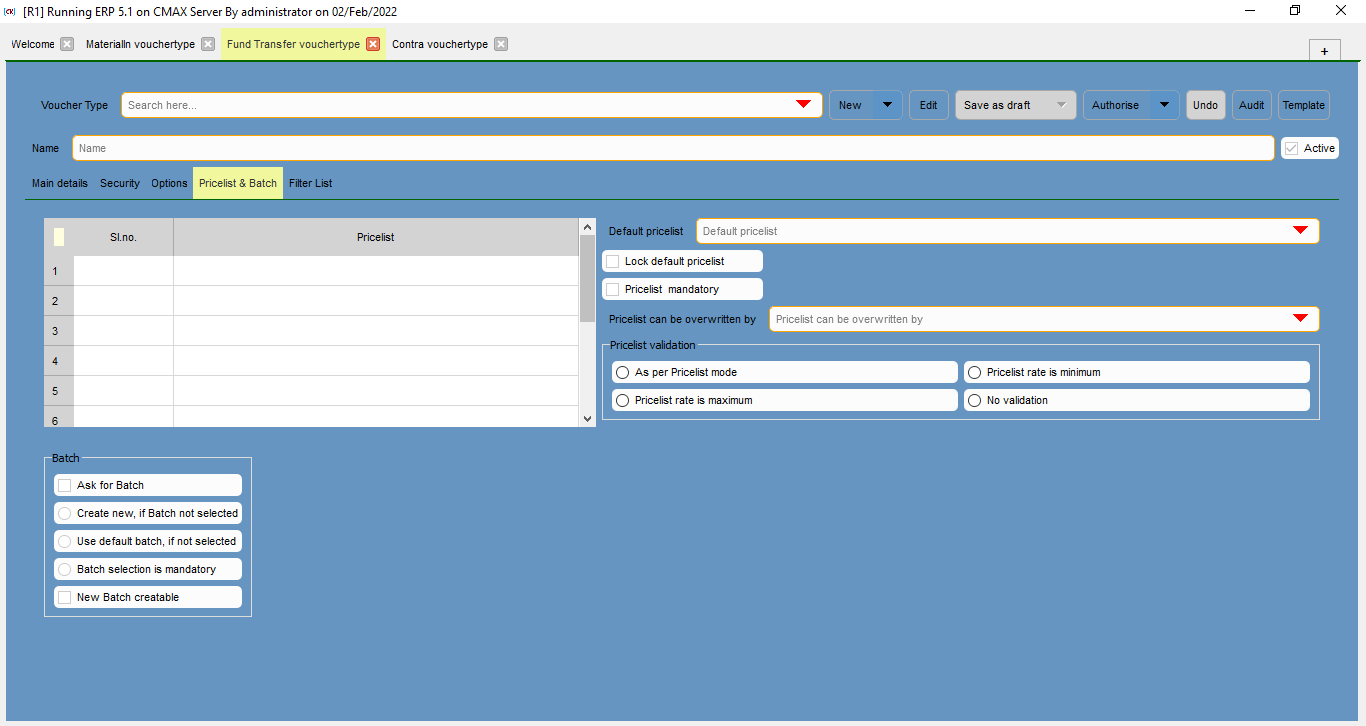
This is the serial number for the pricelist.
This is the name of the pricelists.
This is tha name of the default pricelist to selected.
Select the check box to lock default pricelist.
Select the check box if pricelist is mandatory .
This is to select who can overwite the pricelist.
This is to be selected if pricelist validation is to be done as per pricelist mode.
This is to be selected if pricelist validation is to be done if pricelist rate is maximum .
This is to be selected if pricelist validation is to be done if pricelist rate is minimum.
This is to be selected if pricelist validation is not to be done.
Select the check box if the name of the batch is to be asked.
Select the check box if a new batch is to be created, if batch is not selected.
Select the check box if default batch is to be selected, if batch is not selected.
Select the check box if batch selection is mandatory.
Select the check box if new batch can be created.
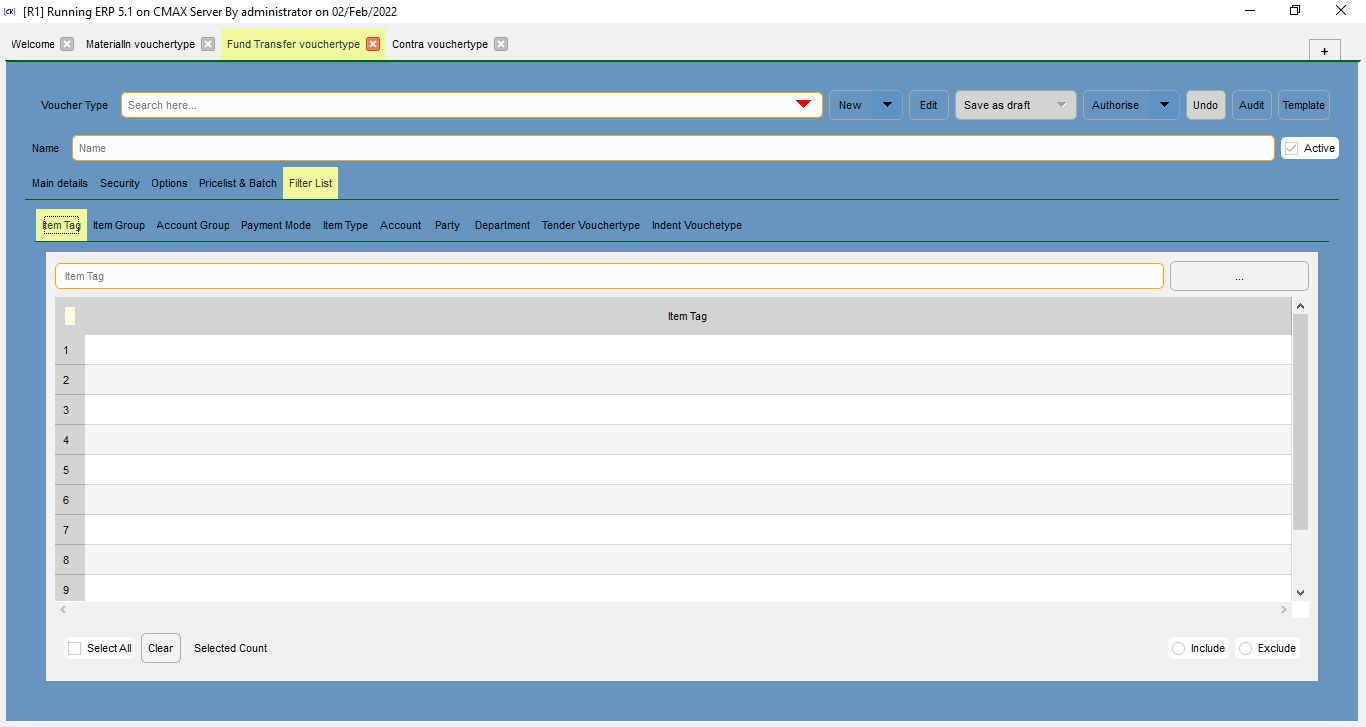
This is the name o fthe categories on which the filtering can be performed.
This is the name of the item tags.
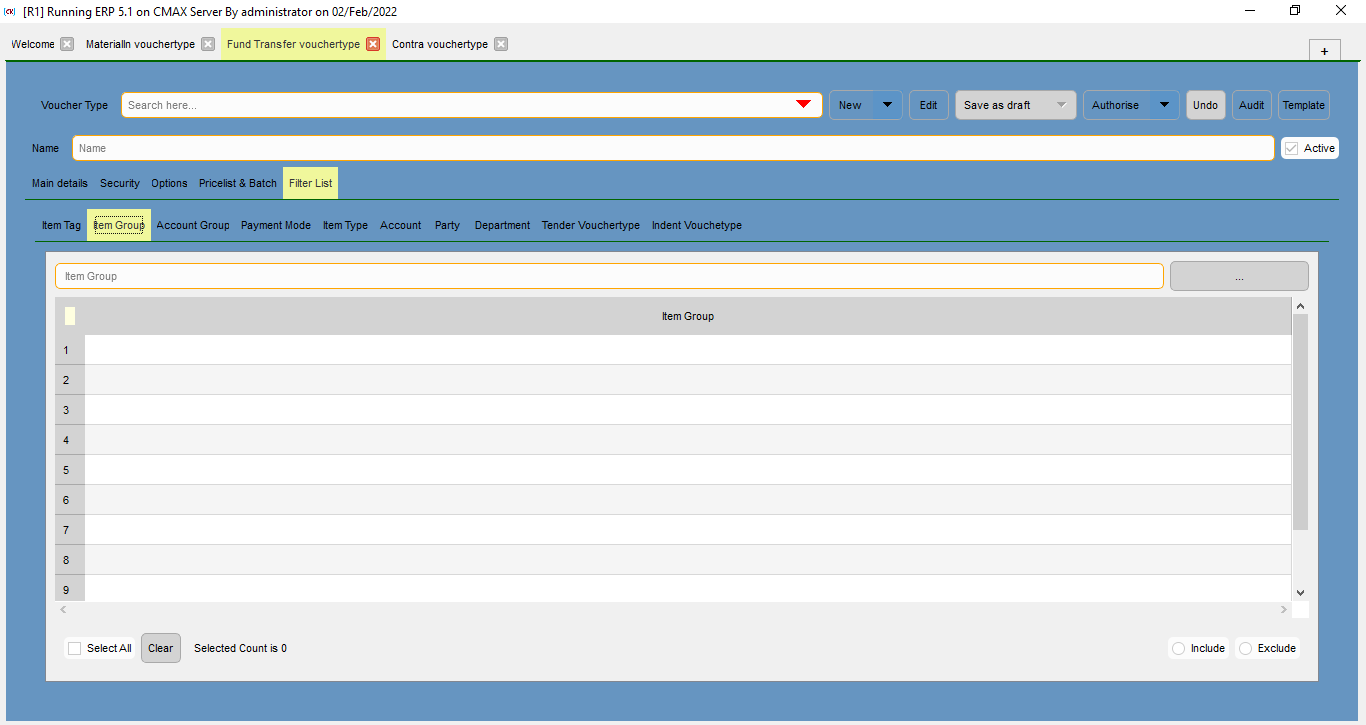
This is the name of the item groups.
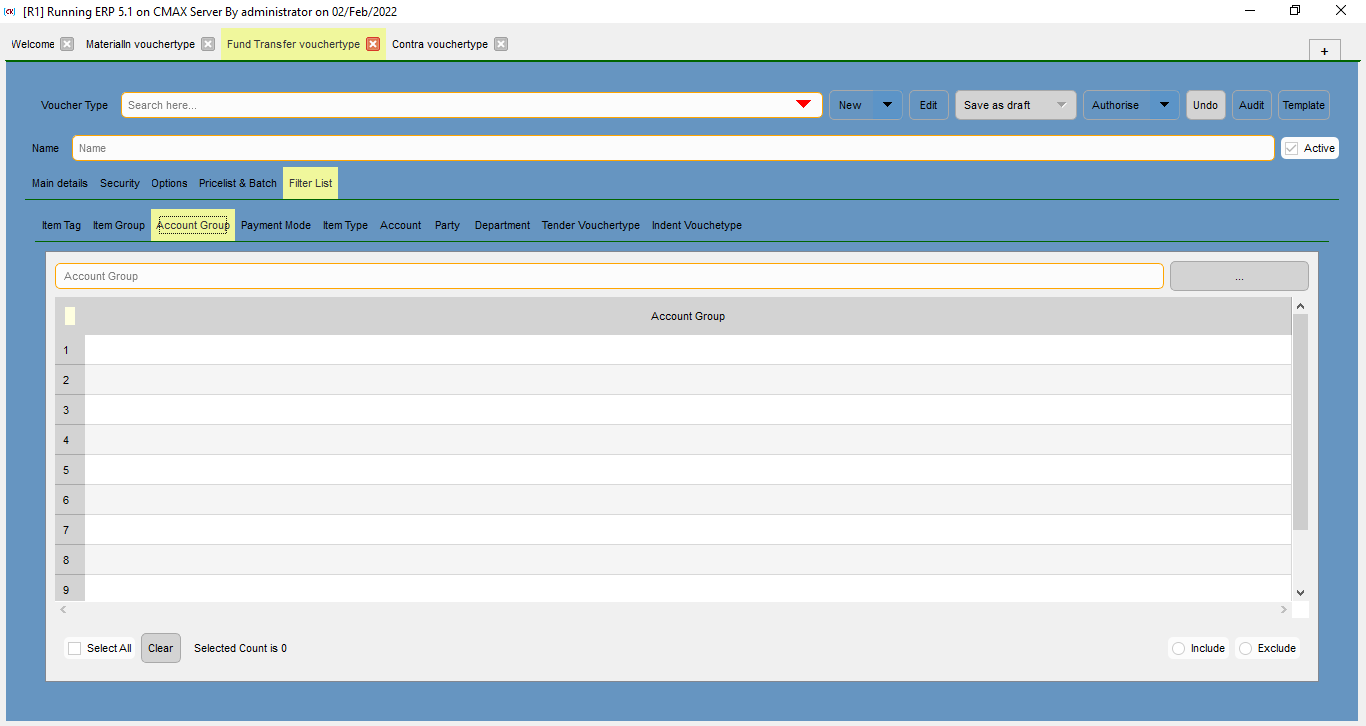
This is the name of the account groups.
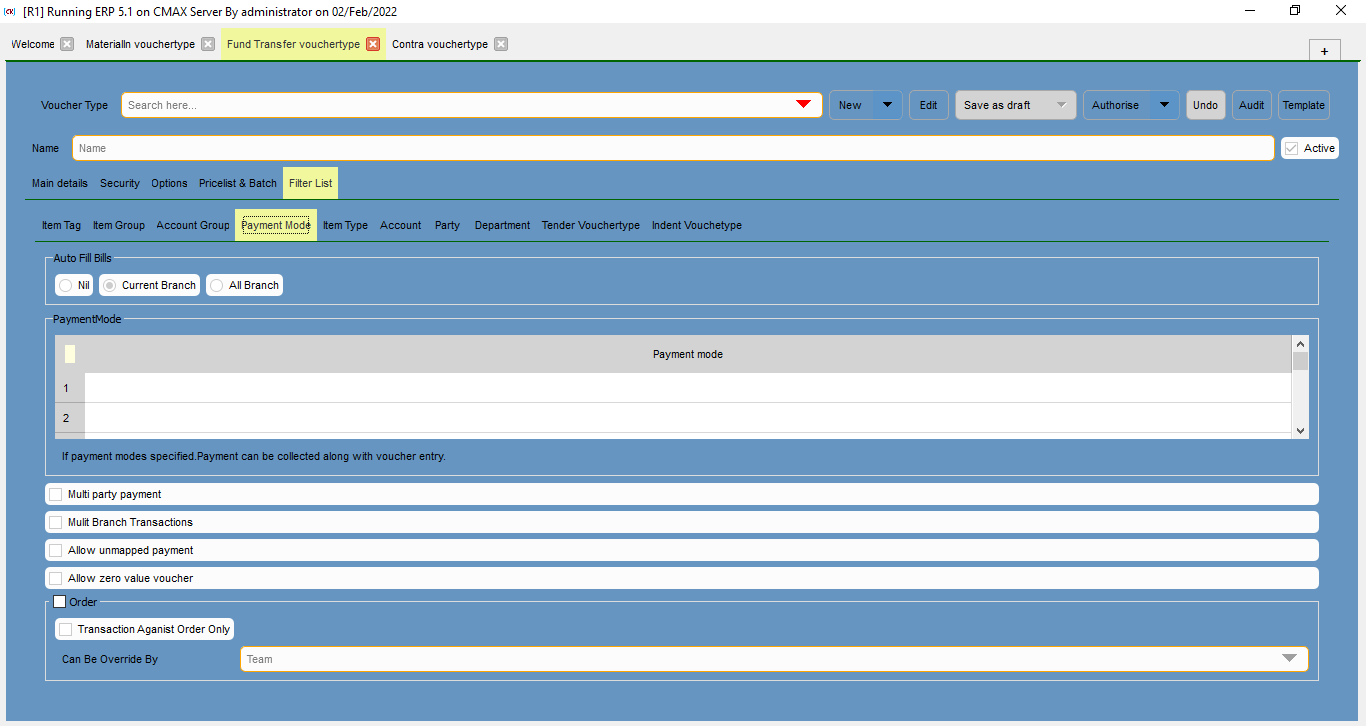
Select the check box for auto bill filling. It can be either nil, current branch, or all branch.
This is the name of the payment modes.
Select the check box to allow multi party payment.
Select the check box to allow multi branch transactions.
Select the check box to allow unmapped payments.
Select the check box to allow zeo value voucher.
Select the check box if order can be performed.
Select the check box if transaction can be performed only against an order.
Select the team assigned to override the order.
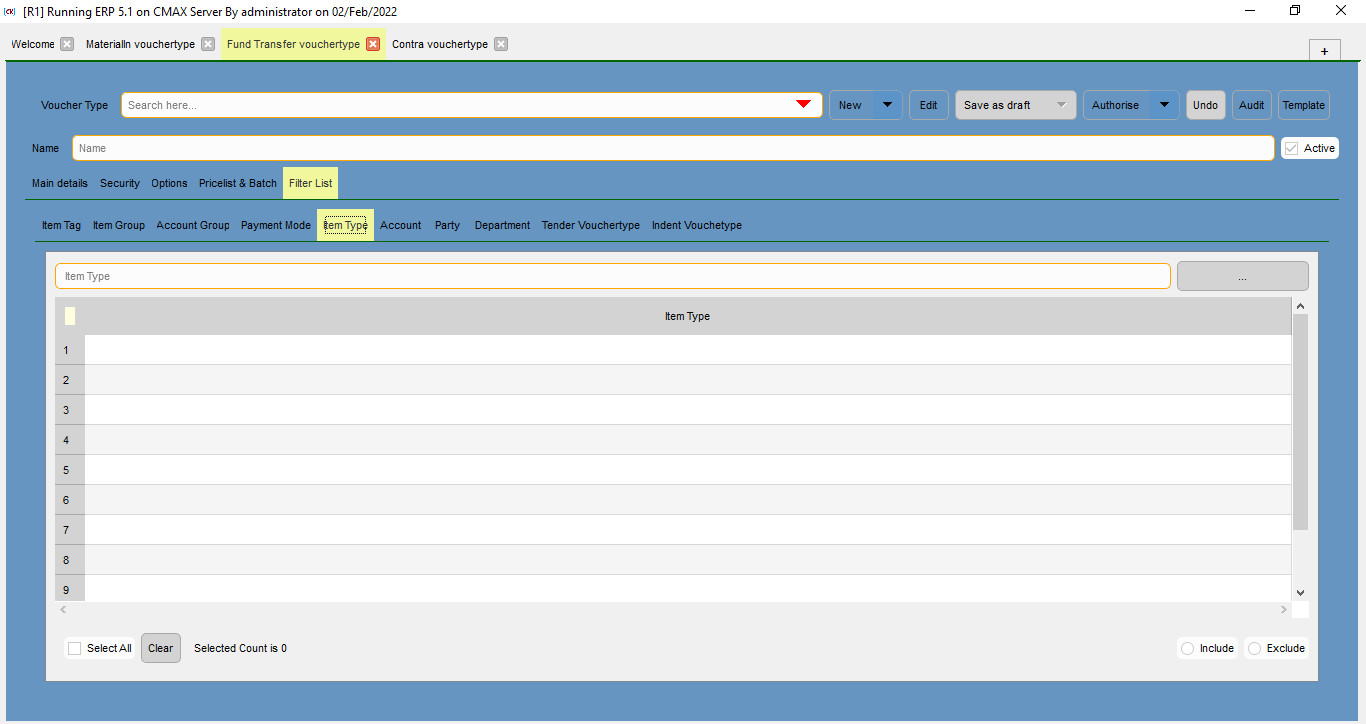
This is the name of the item types.
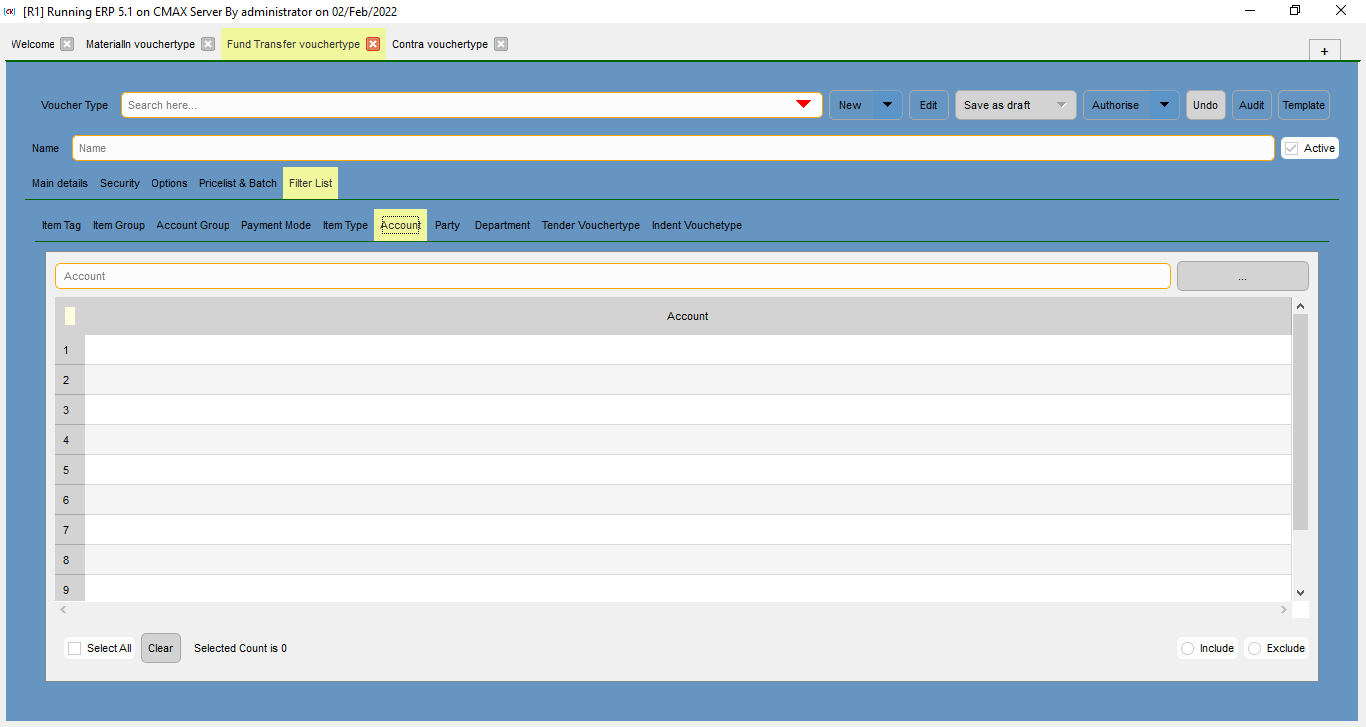
This is the name of the accounts.
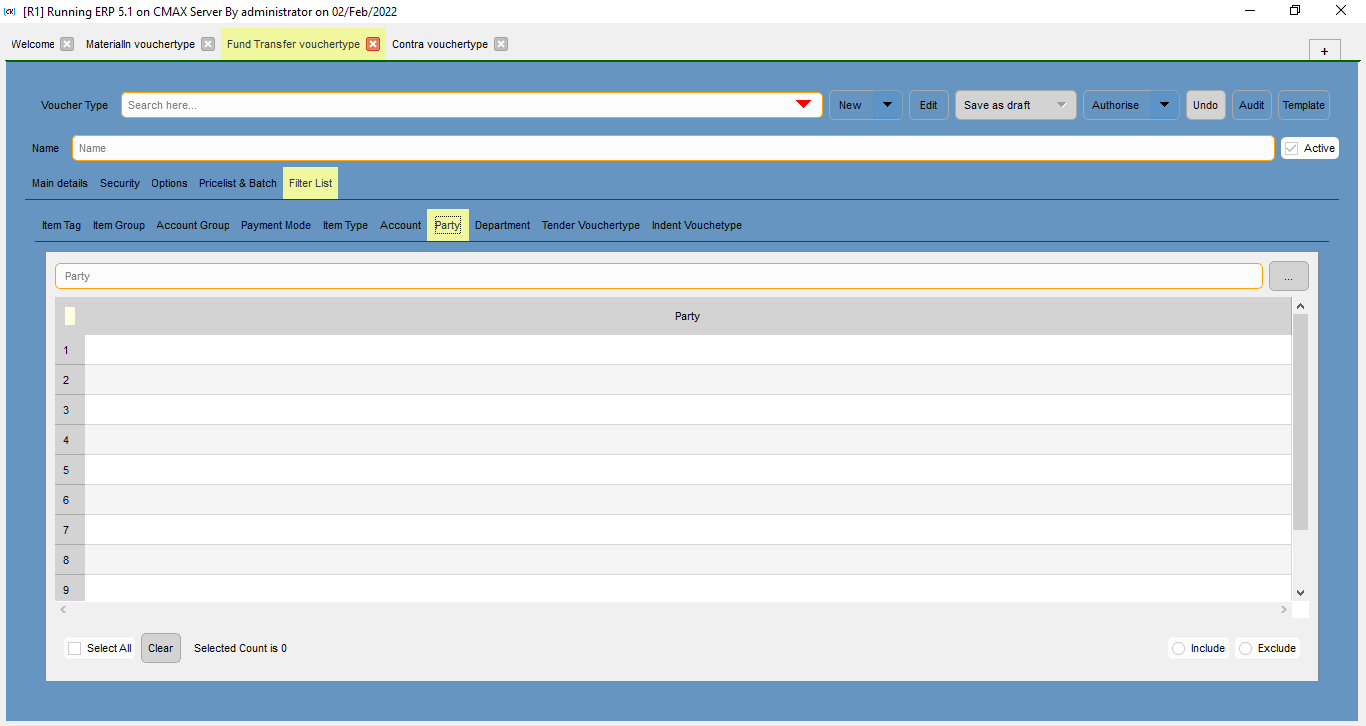
This is the name of the parties.
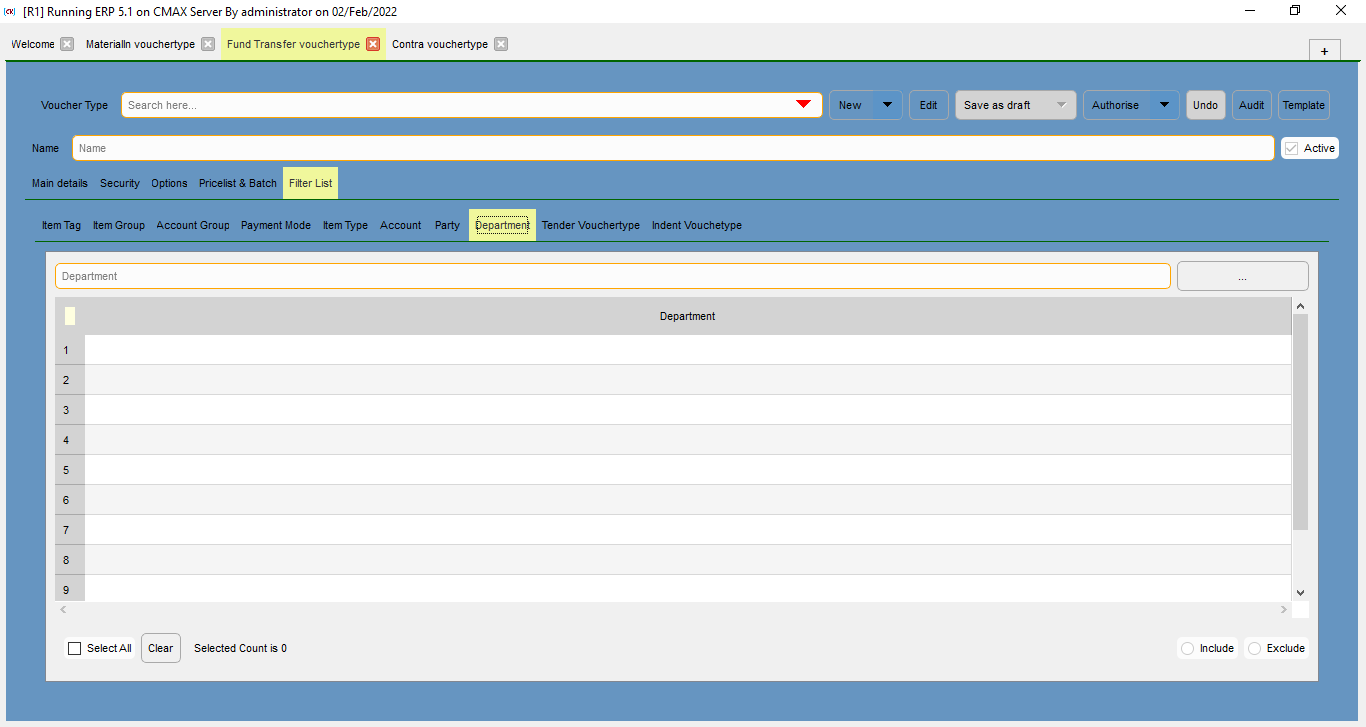
This is the name of the departments.
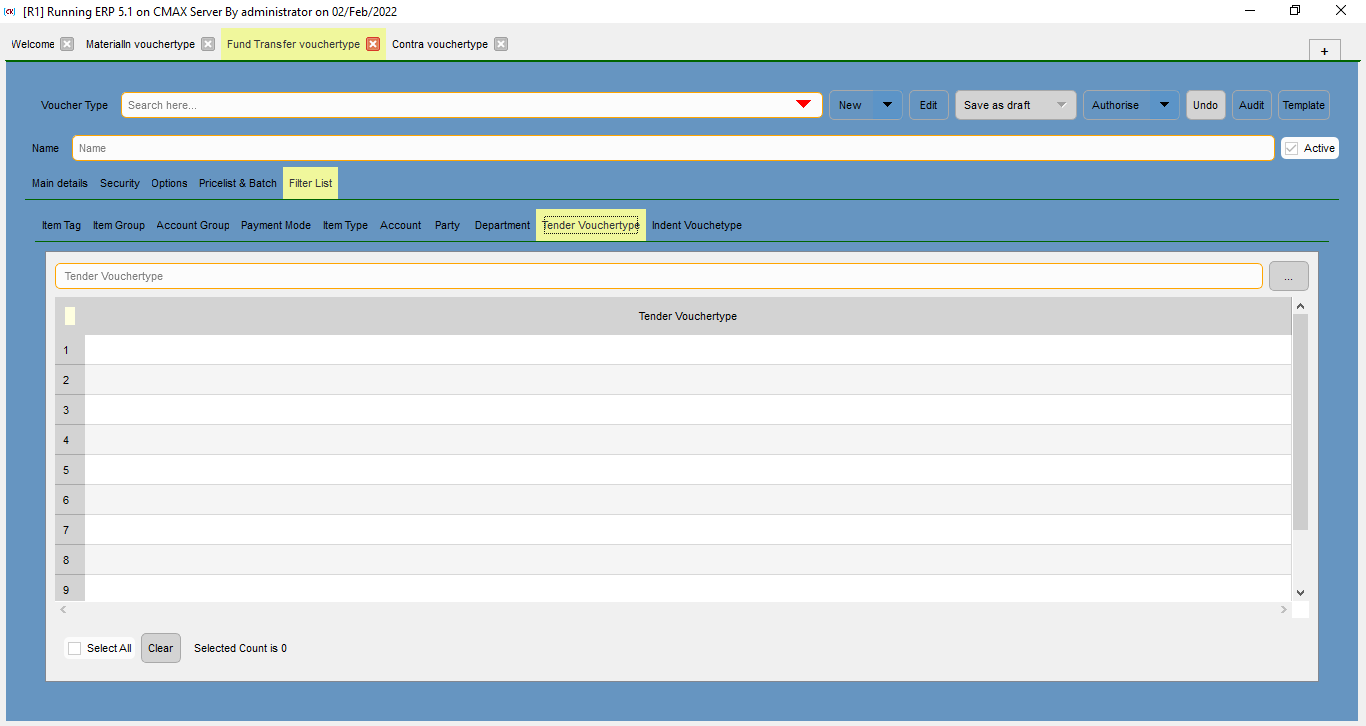
This is the name of the tender voucher types.
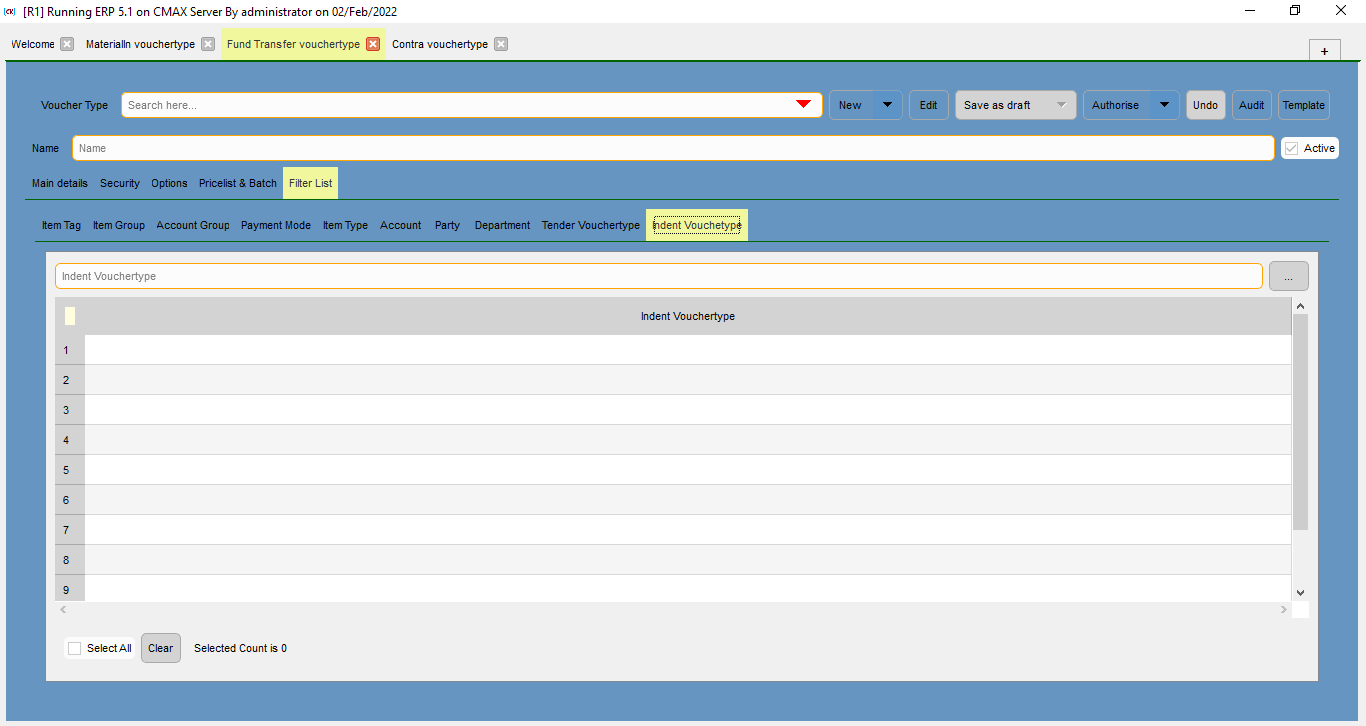
This is the name of the indent voucher parties.
Previous topicks